
 |
| MICROWAVE BOWL COSY |
Hello!
A little Christmas sewing happening over the weekend, I'm making Microwave Bowl Cosies.
My pattern is from Whistlepig Creek Productions ... http://www.wpcreek.com/item.php?itemid=1217
and I just love how quickly it goes together.
I'm making the rounded version as I like the look of it better than the square version.
 |
| CIRCULAR STITCHER |
After I cut out the beginning squares (prior to cutting down to size) I do a couple of rounds of quilting on each half (each half is made up of one square of fabric paired with one piece of cotton wadding) - I'm using the Circular Stitcher on my 222k Featherweight to do this...... love that gadget!! I do two rounds of quilting, that's enough for this project. It will get more at the end.
As I'm using a purchased pattern I won't go into great detail as to the pattern and methods used but I can share my tips and tricks 😃
To make the bowl shape you do four pleats. I like to use a very small stitch length for this. I cut my rounded edges using the pattern and my rotary cutter (after cutting the pleats) - nice smooth rounded edges.
I use my walking foot for the construction, it helps to keep it all together nicely - my seam allowance ends up being just a smidgen over 1/4". Trim the seam allowance to 1/8" after stitching the pleats. Do the same for the seam allowance after stitching each half of the Bowl Cosy together. The only bit I leave at full seam allowance is where I have left the turn through opening - I also stitch off at each end of the turn through opening.
Here is a similar method to how I sew the turn through opening... http://keyka.typepad.com/my_weblog/2008/11/how-to-slip-stitch-a-seam-closed.html.
The only thing I add is that I stitch off to the outside edge at each end of the opening. This keeps the 1/4" seam allowance in place when I turn the cosy right sides out. The "opening" will press nice and flat and if I'm using a 1/8" seam allowance to top stitch then the opening will get closed with that topstitching.
 |
| So my turn through opening is in between the blue lines. I stitch out on those two lines using a very small stitch length and I stitch between the two lines using a long stitch length. Once I press the seams back after stitching, I remove those long stitches. |
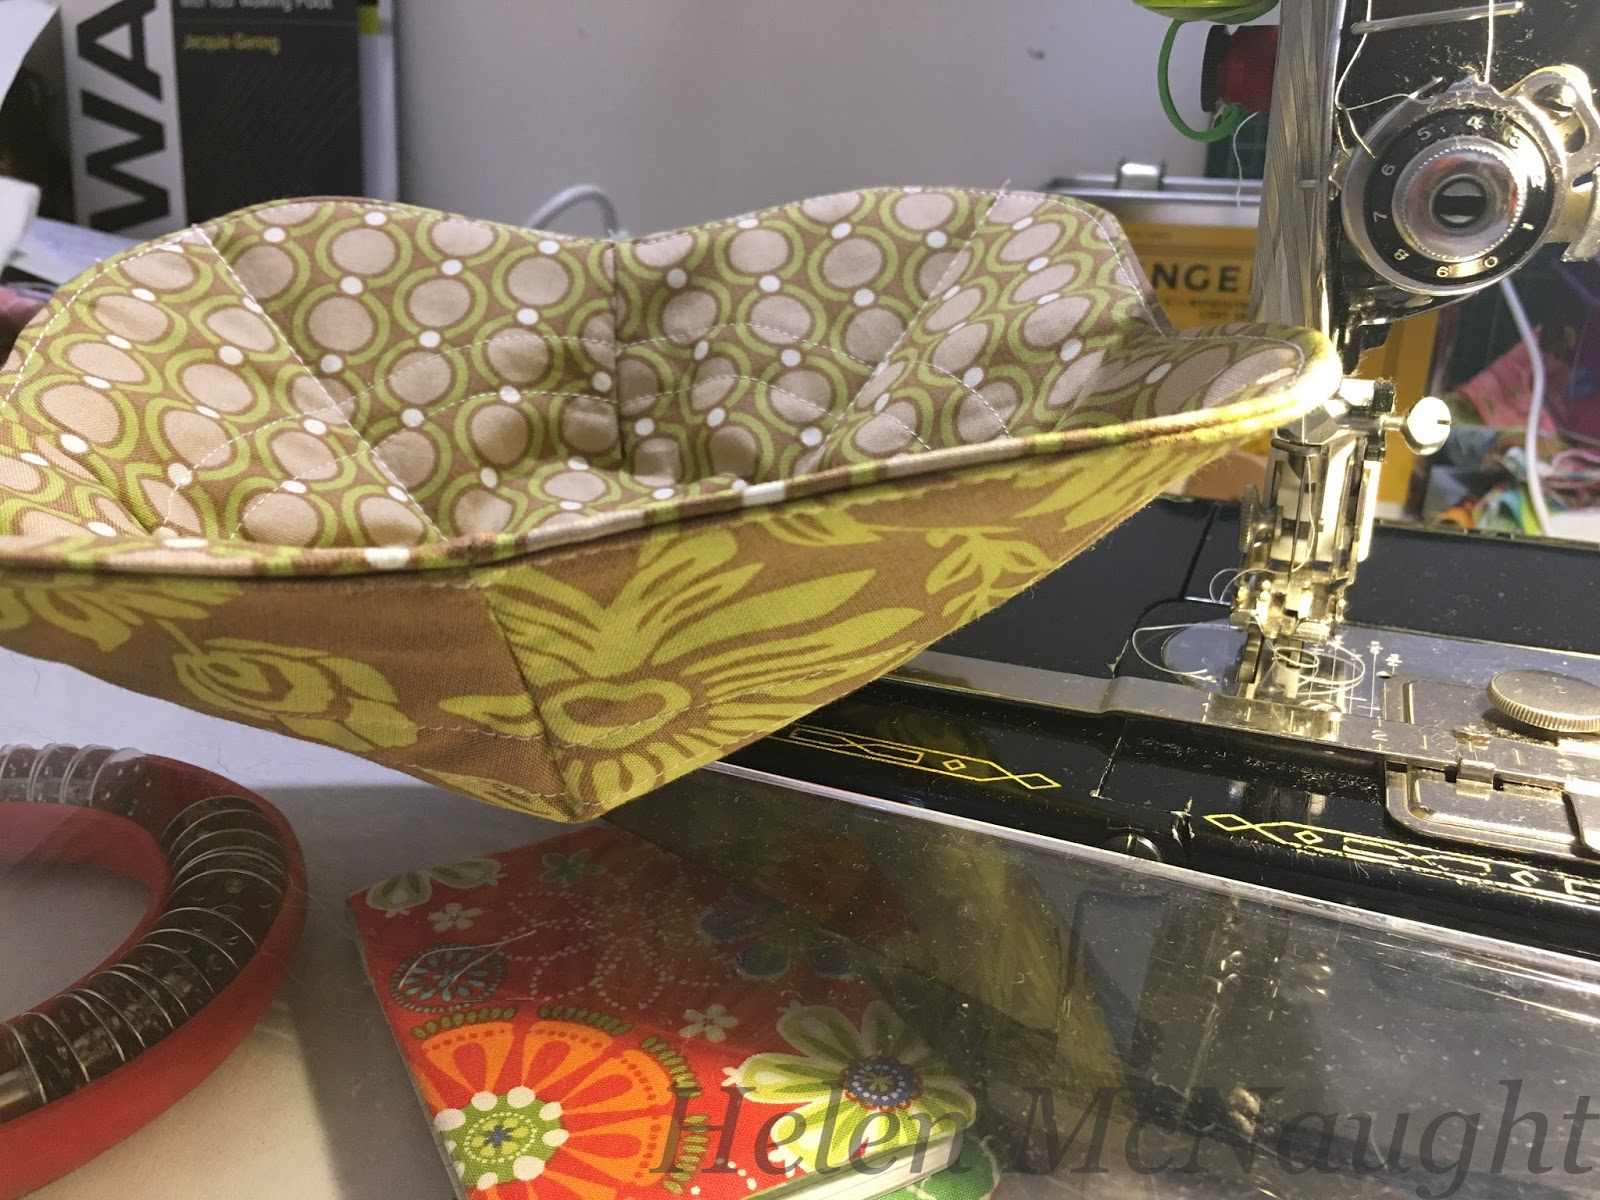
Once I turn it all right sides out I find giving the rounded "corners" a good press helps to set it in place ready for the final topstitching. I topstitch using a little longer stitch length than I use for piecing. I like to do the topstitching about 1/8" from edge. The turn through opening will be closed with the top stitching.
The last bit of stitching is to quilt on the diagonal both ways from the centre of the curved corners.
 |
| You can see the diagonal quilting |
These are fun to sew. I think the best way to do a bunch of these would be to prep a whole lot of them and then chain stitch. I'm setting up two machines ... the 222K for the circular stitching and my Brother PQ1500 to do the rest of the stitching.
Happy Sewing!!
Cheers from Helen


Love making small gifts
ReplyDeleteSuch great tips, Helen. Thanks for sharing!
ReplyDeleteLovely gifts!
ReplyDelete