I love to sew, mainly quilts and bags. I am 66, married to Fred and have one son, Matthew, who is 27. I enjoy embroidery and applique and prefer to machine piece and quilt my projects. I love my vintage Singer sewing machines especially my Featherweight 222K. I’m enjoying treadling on my 201K Singer and I collect Miniature Sewing Machines and currently have three Essex , one Singer 20, one Singer 40, two Vulcan Miniatures and my latest, a Grain. My love of sewing I believe comes from my Grandmother - I still have the drawings she made for me to embroider on tea towels many many years ago!
Showing posts with label Bonnie Hunter border method. Show all posts

Tuesday, 28 October 2014

MINI FARM QUILT

Today we are experiencing extremely hot weather..... AGAIN!  although there is at least a slight breeze today.  I'm staying in my sewing room, fan on, and I am adding the borders to the mini farm quilt.... think I will call this one "Hobby Farm"...

This is how I measure for borders....  I cut my strip, lay it down the centre
of the quilt top, pat it down without stretching, then cut off each end square with
the quilt sides.  

cutting off the end

and the other end

Pinning the strip to the side of the quilt - I'm pinning left to right as I am
sewing this project on my Featherweight and using the seam guide.  Lots
of pins! 

Here we are at the machine

As I have Pellon on the back of the embroidered blocks, I have reduced
the foot pressure on my machine, this helps with any "creeping" of
the border fabric.
Sorry for blurry pic (using my phone!) but for the ladies who
sew on a FW, this is what I mean by reducing the foot pressure.
There are around 5 or 6 threads of the screw showing whereas during
normal sewing on my machine there are usually only 2 or 3 threads
showing.   
Here I am adding the last borders

Now on to the next and final border!

It is now 6:30pm and I've sat on this Post all day!!!  I am now up to the quilting which I'm doing on my Brother PQ1500 machine as I had it all set up ready!  I will post a photo later of the quilting.

Happy Sewing,
Cheers from Helen!

Sunday, 24 June 2012

TUMBLING MONKEYS!


Hello there!

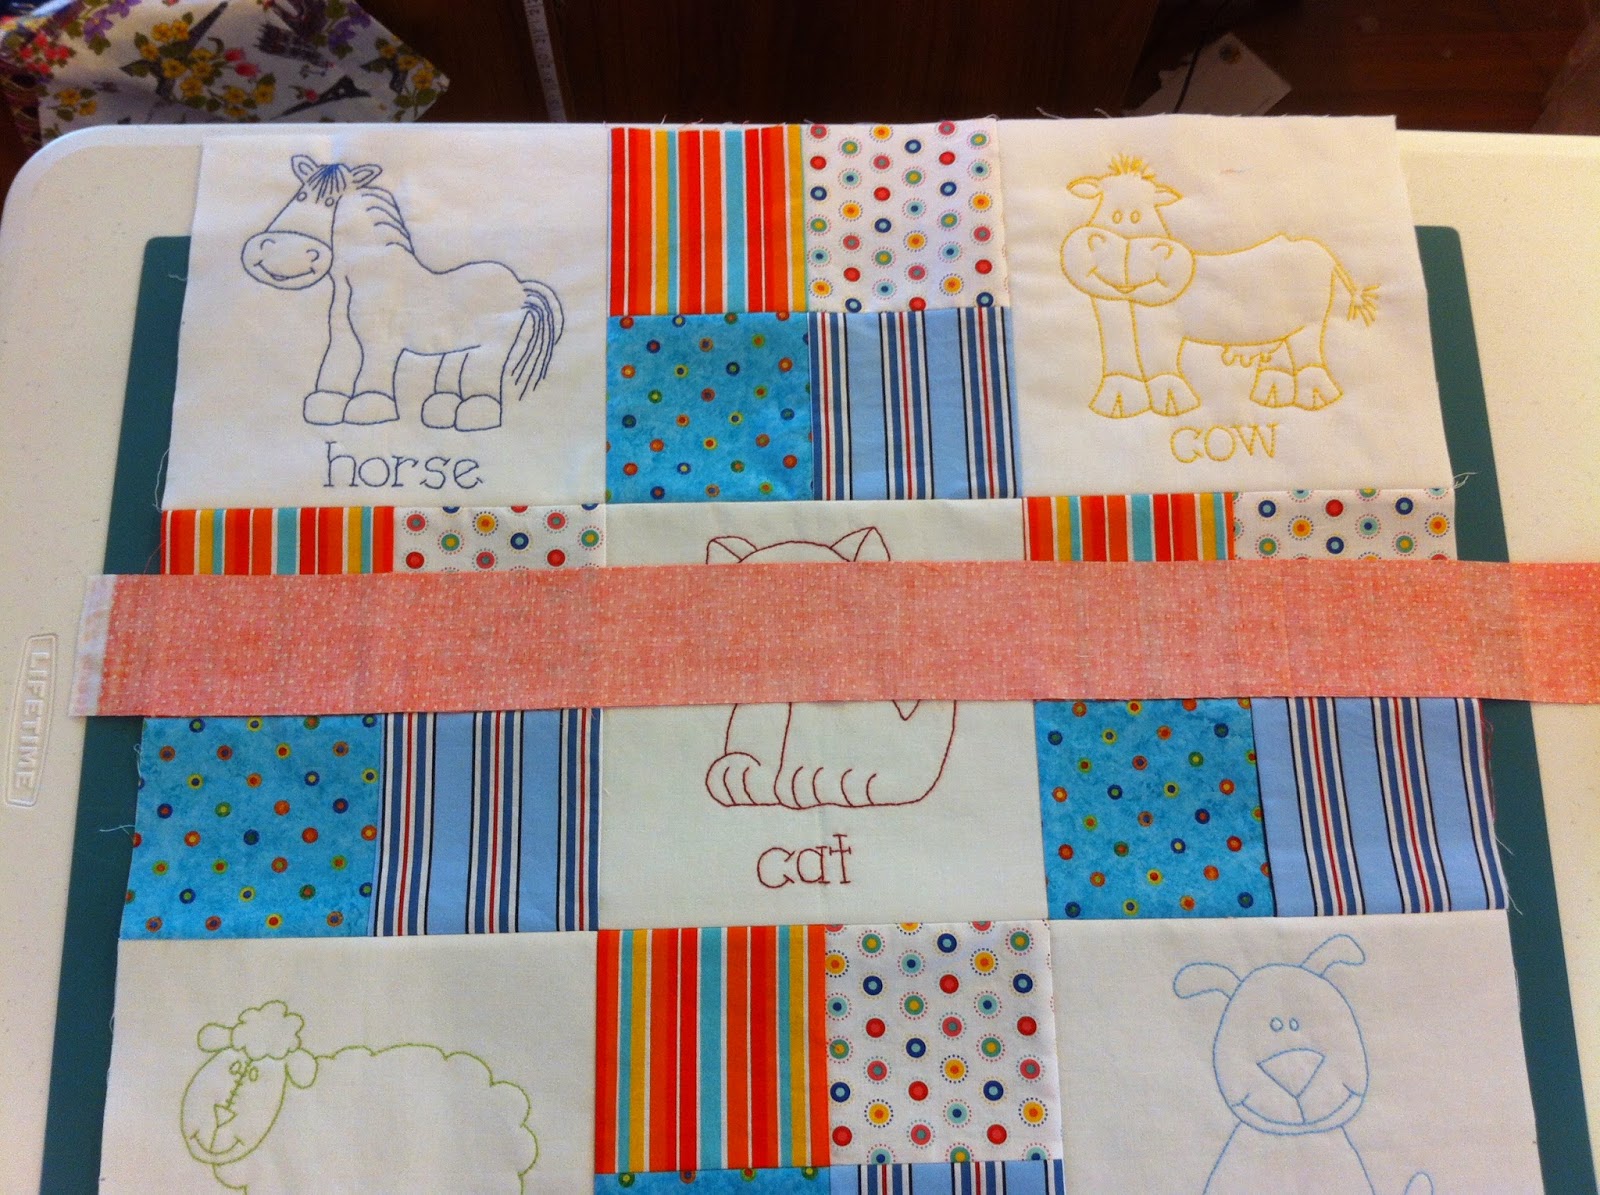
This is the project I've been working on during the past few weeks.  I found the pattern in Quiltmaker magazine (July/Aug '11).  I used fusible applique and hand blanket stitch.  My latest method of this stitch is somewhat different to the way most of us do it   (at least, I think it's different!! - it is to me anyway!!).....   take a look at this illustration     HERE   I do this stitch from bottom to top, i.e: working away from myself and in an anti-clockwise direction.  I poke my needle DOWN on the edge of the applique and then UP within the applique - this really makes a difference as usually you do it the other way and after a while, the edge starts lifting up and it's back to the iron you go.    (BTW.. I'm right handed)     This version is great for kid's quilts which will be getting lots of washing - the stitches won't roll-over!

I'm still getting over my cold and my concentration levels are zero so when I did the joining of my rows, the sashing didn't line up as it should but it's okay.

I'm sure I've mentioned this here before, but I use Bonnie Hunters method for adding borders, click   HERE    Perfect borders EVERY time!!  It makes sense really, if you cut the border fabric using the quilt as your base.. you just can't go wrong!  The book "Borders and Bindings" by Mimi Dietrich is also a wonderful "how to" that I just can't do without.

I will be pinning this quilt tomorrow and then on to the binding..... yes, the ALL MACHINE way!!  You know I love that method!!

Remember THIS QUILT?

well, today I finally got around to pinning it ready for quilting.   This quilt has been hanging in the "to do" cupboard far too long so it will be good to see it finished.

Of course, it hasn't been "ALL SEWING" around here.  Fred went in to Hospital for his first dose of Chemo last Monday through to Wednesday.  He's sort of okay, feeling a little crook, but sleeping well and still doing a little walk around the tennis court every day.  Meals are a challenge but we are working hard at finding things he feels like eating.   He didn't have an allergic reaction or any heart problems, so that was good.  Unfortunately, he goes back in again Monday week, so not much of a break.

Matt is back to normal... need I say more?   He is a typical 18 year old -  I want to know who invented the 18th birthday party?????  there seems to be one every week!   It's the same idea as our 21st, but that seemed more special to me.... anyway, he's out more than home, put it that way:-)  He goes back to the hospital this Tuesday for his final check up and then hopefully he can go out and get some work as he can't go back to College until February next year.  He's trying to be helpful at home and trying to be understanding about his Dad, but at his age it's all a bit scary I guess.

So I will be back with some completely FINISHED quilts to show soon,

Happy Sewing!!


Sunday, 17 April 2011

FLIMSY CHICKS!

CHUBBY CHICKS IS FINALLY A FLIMSY!!
The borders are on!!  I took this pic outside with the quilt pegged to the clothesline.... not the best place to take a photo but it has turned out quite a large quilt and I didn't fancy standing on the dining table to take a photo of the quilt on the floor:-)

I changed how I was going to lay out this quilt, therefore the number of chicks facing each way was out by a couple of left and right facing birds so I just mixed it up a little.  The original pattern has a flying geese border in between the white and green borders but I just wanted to get this one finished and I had plenty of the green so I "grew" that border out to 5".

Now I will have to go fabric shopping for a backing....  oh what a chore :-))

My method for adding borders is a mixture of techniques.  I use my wonderful book "Borders and Bindings" by Mimi Dietrich and the technique used by Bonnie Hunter here.  I never have any troubles with my borders by following the techniques given by Mimi and Bonnie.  The only thing I could have done differently with this quilt is to join the green borders on the straight, not on the diagonal.  They look quite noticeable in the photo, but once the wadding and backing is on and then the quilting done, I don't think they will stand out so much.


The other project I am working on right now is the Owl embroidery blocks...


Happy Sewing!!