I love to sew, mainly quilts and bags. I am 66, married to Fred and have one son, Matthew, who is 27. I enjoy embroidery and applique and prefer to machine piece and quilt my projects. I love my vintage Singer sewing machines especially my Featherweight 222K. I’m enjoying treadling on my 201K Singer and I collect Miniature Sewing Machines and currently have three Essex , one Singer 20, one Singer 40, two Vulcan Miniatures and my latest, a Grain. My love of sewing I believe comes from my Grandmother - I still have the drawings she made for me to embroider on tea towels many many years ago!
Showing posts with label Rodale's Perfect Piecing. Show all posts

Sunday, 14 July 2013

SPINNING PINWHEELS.....


BLOCK # 3 - AFA QUILT-ALONG

This block certainly tested the old Singer 201K.  I took it slowly and in the end I'm pretty happy with how this block has turned out.

I did learn one thing about sewing on the Singer.  I need to check my scant 1/4" frequently, as the seam guide 'shifts' a little without you noticing it.  I purchased a little tool to help me with the scant 1/4" .....
it's called the Perfect Piecing Seam Guide by Perkins Dry Goods.  So every now and then, I place this little guide under the sewing foot, lower the needle into the tiny little hole in the guide and then screw my Singer seam guide in place butting it up against the Perfect Piecing little tool.  I then remove the little ruler and away I go again, sewing with a true 'scant' 1/4" seam.

Now I'm making my Batik version of Block # 3.  
This time I will press my seams to one side.  Up until now, all seams have been pressed open.  I just want to see what difference it might make to this block in particular.  I like to 'stab pin' my triangle points together so I get a nice crisp centre to my pinwheel and you just can't do that using the open seams.  Well, I can't anyway!  I have referred to this method before (Civil War Quilt) - this method is from Rodale's Perfect Piecing - a book I go back to time and again.

I've updated my virtual quilt in my sidebar, it's coming together nicely.

Happy Sewing,
Helen
Perfect Piecing Seam Guide

FABRICS USED IN THIS BLOCK:-
BROWN CONTRAST FABRIC -  "MONOCHROMATIX" BY PATRICK LOSE FOR ROBERT KAUFMAN
ORANGE - RAINFOREST COLLECTION BY  CORAL TREE FABRICS "SUMMER RAIN"
FAWN/BLUE/BROWN/GREEN -  Brook Turquoise Pebbles by CP Designs for Studio e

Tuesday, 26 April 2011

HOMEWORK?

I was a week behind with my Civil War Quilt homework!!  So spent yesterday catching up....

BLOCK # 16   WHITE HOUSE
I wasn't all that happy with my centre pinwheel.

So.... I made another block. The blue stripe
is printed slightly off which makes
my piece look crooked, but it IS
straight!
This time I used a new trick when joining
the two rows... read more below....

BLOCK # 17   COMFORT QUILT
An easy block - really had to dig
through my scraps to find
enough blues!
O.K. so what is the new trick I have learned?

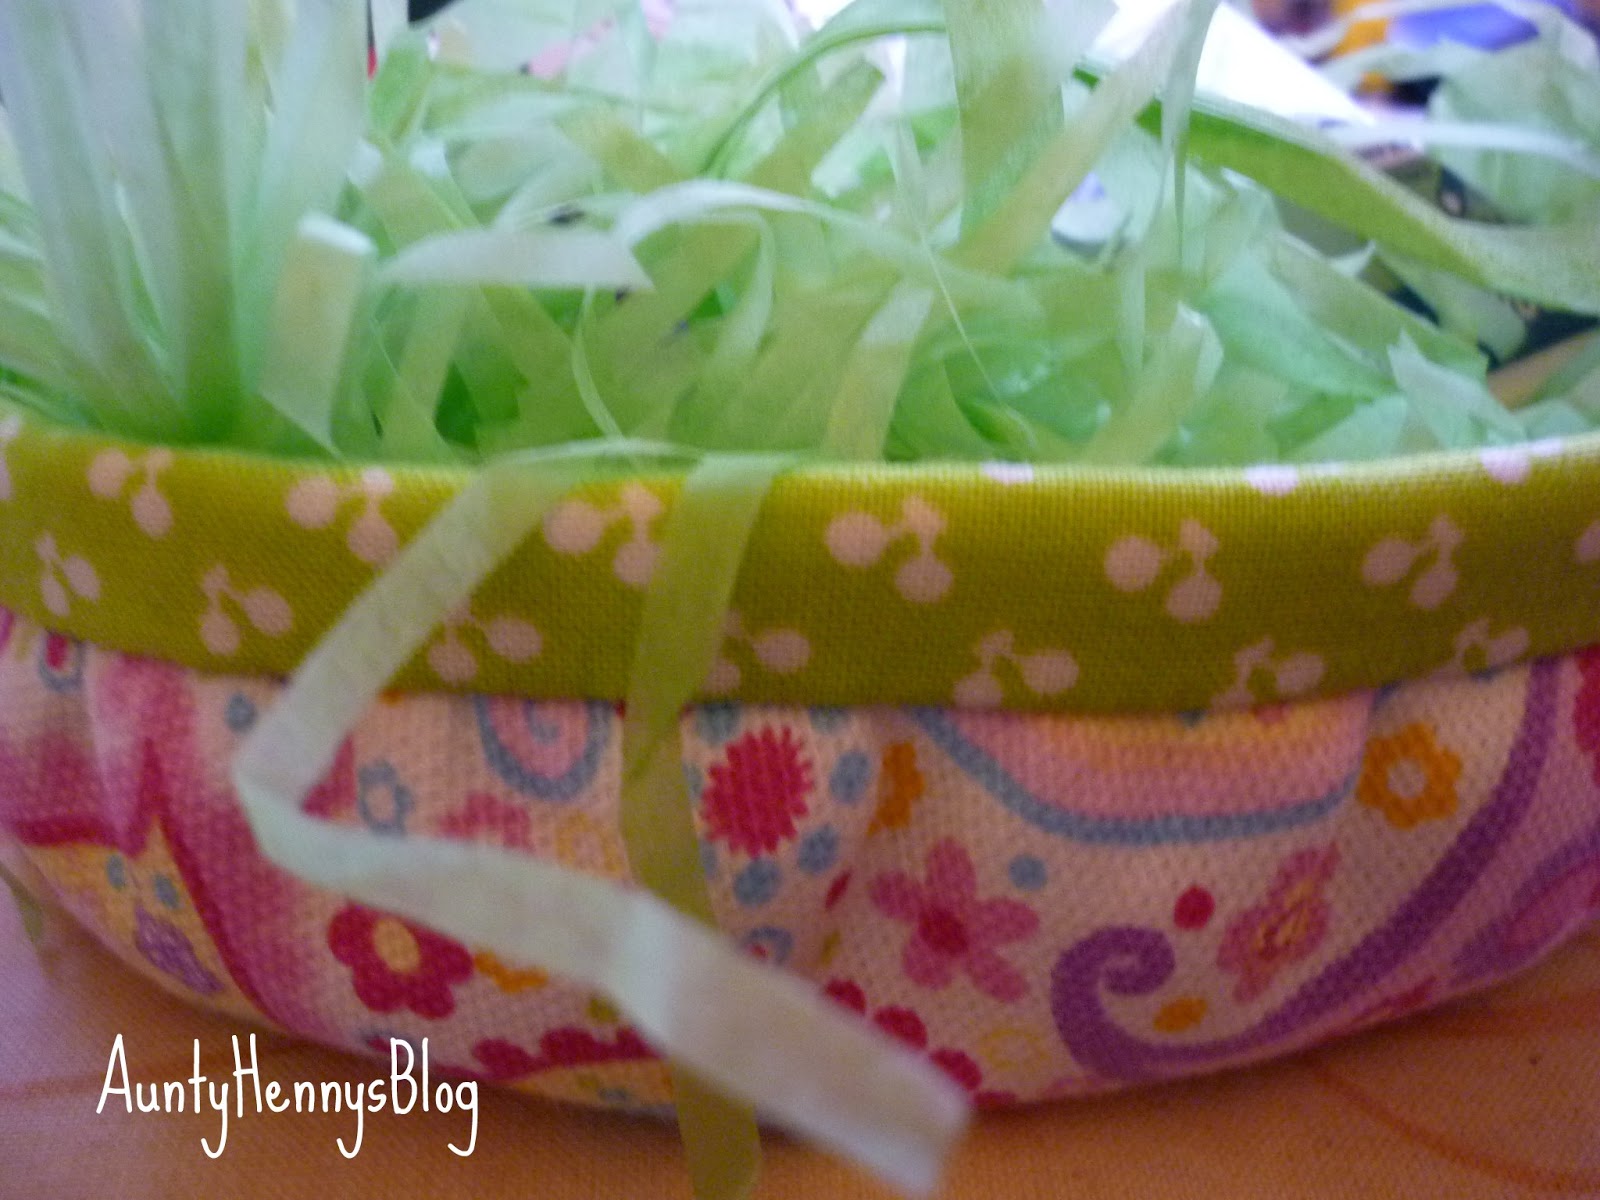
Elmer's Washable School Glue!  Now, many of you might already know about using this glue for patchwork, but I only recently came across this idea when reading about a new method for attaching binding to quilts.  I can hear a few groans out there, but hey!! anything that makes sewing easier is fine with me!!   I used the glue method on the binding of a little Easter Basket I made last week and just loved how it worked!  So, when I was joining the two rows together to make the second version of the White House block, I used the glue where my pin went through both pieces at the centre point of the pinwheel (I call this the stab method).  I just put a dot of glue around the pin, then hot ironed (then removed the pin).  It worked so well!!! I didn't have the problem of holding on to the pin as I was sewing, which made it so much easier.   If you want to know more about the stab method, click on "Rodale's Perfect Piecing" below in the Labels box.

Another hint when making the White House block -  I followed American Homestead's advice HERE which made the construction of the block much easier.  If using this method, it is much easier to sew the square to the rectangle like this....

Sew from the upper left corner down to the bottom right corner with
the rectangle placed as shown.
If you try to sew from the bottom right corner you will end up with an untidy corner.  This corner eventually becomes the centre of your pinwheel.

So now my homework is done!!  Now to get back to the Chubby Chicks quilt - I have the backing and binding fabric, just need to piece the backing and get the pinning done!!

Easter Basket
(you can find the tutorial HERE)

Our 5 day long weekend is over tonight, back to school tomorrow :-)  and suddenly the week is almost over!!  then another long weekend for Labour Day.  More sewing days ahead!!

Happy Sewing!!

Monday, 31 January 2011

KANSAS TROUBLES?

BLOCK # 5 - CIVIL WAR QUILT
NOT IF YOU OWN A WONDER CUT RULER!

I actually enjoyed piecing this block.  I have never worked with such little squares!   To make the HST'S I used my Wonder Cut Ruler.  Two strips are cut to the size you need using the lines on the ruler (I cut my strips on the 1 1/2" line)... you then sew the two strips together (in this case, one light, one dark) right sides together with a 1/4" seam down both sides of the strips.  Then you take the other end of the ruler and cut out the triangles, once again using the 1 1/2" lines on the ruler.  Open up the triangles to reveal a perfectly formed HST which is just a smidge over the 1 1/2" required which allows you to trim up the ears and double check your 45 degree angle.  All of my HST's came out just right.  I used my normal ruler to cut the remaining squares.  If you don't follow, just click on the link above!


THINGS I LEARNT MAKING THIS BLOCK AND SOME TIPS TOO...

Working with such small pieces of fabric, I think it is essential that your rotary cutter is super sharp - so I would recommend a new blade for this project.  If the blade is slightly dull, it will drag on the little piece of fabric when you are trying to cut it in half for the small triangles.

I have clear grip on the underside of all of my rulers - this stops the ruler slipping when you are cutting... this is very useful for such small pieces of fabric.

Spray starch has become my best friend!

I press all seams OPEN.

I found that only one pin was needed when piecing the HST sets together.  More than one seemed to distort the block.  I use very fine bridal pins with glass heads.

To join each side together (after I had pieced each set of two 4 1/2" squares together) I stabbed a pin vertically through the centre match point of each pinwheel set, keeping it standing upright.  I then pinned each side of that pin whilst aligning my seams.  Without removing the upright pin, I sewed the seam, only removing the pins as I came to them.  This involved holding the upright pin in place, but it made sure that the pinwheel came together correctly.   This ensured that my triangles met in the middle quite well (I'm not saying for one minute that mine a perfect, but I'm happy with how they came out!)  I picked up this "trick" from one of my books.....RODALE'S PERFECT PIECING, Page 52

I do not use any steam in my iron until the block is ready to set.  I have a piece of freezer paper marked with the 8 1/2" square which I iron onto my board, then pin the block into place (with glass headed pins) onto the freezer paper.  I then spray starch the block then dry iron/press it.  I like to leave the block sit for as long as possible, then remove the pins and remove the freezer paper from the ironing board and THEN give the block a nice steam press (no rubbing, just pressing).


Some of the Civil War blocks have been quite challenging.  If you are looking for information on how to  piece a block, go over to Lillian's blog.....http://lillianscupboard.wordpress.com/category/quilting/civil-war-quilt/       Lillian gives clear instructions (with pictures).  Thanks Lillian!  I would never have worked out Texas Tears without you!!

Tomorrow my Craft Group starts up for another year.   I'm looking forward to getting back into routine.  We meet every second Tuesday.  I wonder what crafty items we will be making this year?!

Happy Sewing!!