
I had some leftover embroidery blocks for a Farm quilt as I had made a mini version late last year using only 5 blocks so I decided to make another mini version to have on hand if I needed a quilt in a hurry!
 |
| Last years mini farm quilt |
 |
| Cutting the borders - I like Bonnie Hunters method HERE |
 |
| A flimsy! Glad to use up some more scraps. |
On Sunday we had lunch with our friends and we discovered they were grandparents again to a baby boy....... so suddenly the "spare" farm quilt is not a spare anymore! Today I found some backing fabric for it but it was only 40" wide and my quilt flimsy is 38" square. I like at least 4" excess batting and backing all the way around a quilt so I decided to piece the backing with just one seam down one side.
This farm fabric is perfect! I have always wanted to have a go at joining a backing using the method where you pattern match....... you can read about this method HERE.
I will be quilting this one on my Featherweight. I think it's small enough to manoeuvre through the throat space of the machine. Quilting on the Featherweight is just so enjoyable. Perfect stitches on the front and back. I'll do some Walking Foot quilting and maybe some Free Motion Quilting too!
 |
| I found this fabric to use for the backing of the Farm Quilt |
 |
| Measuring the pattern repeat Cut your two pieces of fabric - one piece longer than the other by the pattern repeat measurement |
 |
| Folding and pressing along the selvedge edge of the short piece |
 |
| Always make a note of the measurements! My short piece of backing fabric = 46" My long piece measured 46" + pattern repeat of 12" = 58" |
 |
| Get your Elmer's Washable School Glue out!! You overlay your short piece with the folded edge over the long piece, right sides facing and obviously laying the top piece with the pattern matching on the bottom piece. |
 |
| I glued all the way down the seam (just glue under the fold line) and then put a few pins in until I pressed with my iron to set the glue. |
 |
| Make sure the widest pieces of fabric are together (top of photo) and your selvedge edges are together (bottom of photo) - the seam allowance gets trimmed off after sewing. |
 |
| Heres a better view of how you add the two pieces with the pattern matching. You can see there is a bit of wastage on the bottom fabric to allow for the matching of the pattern. |
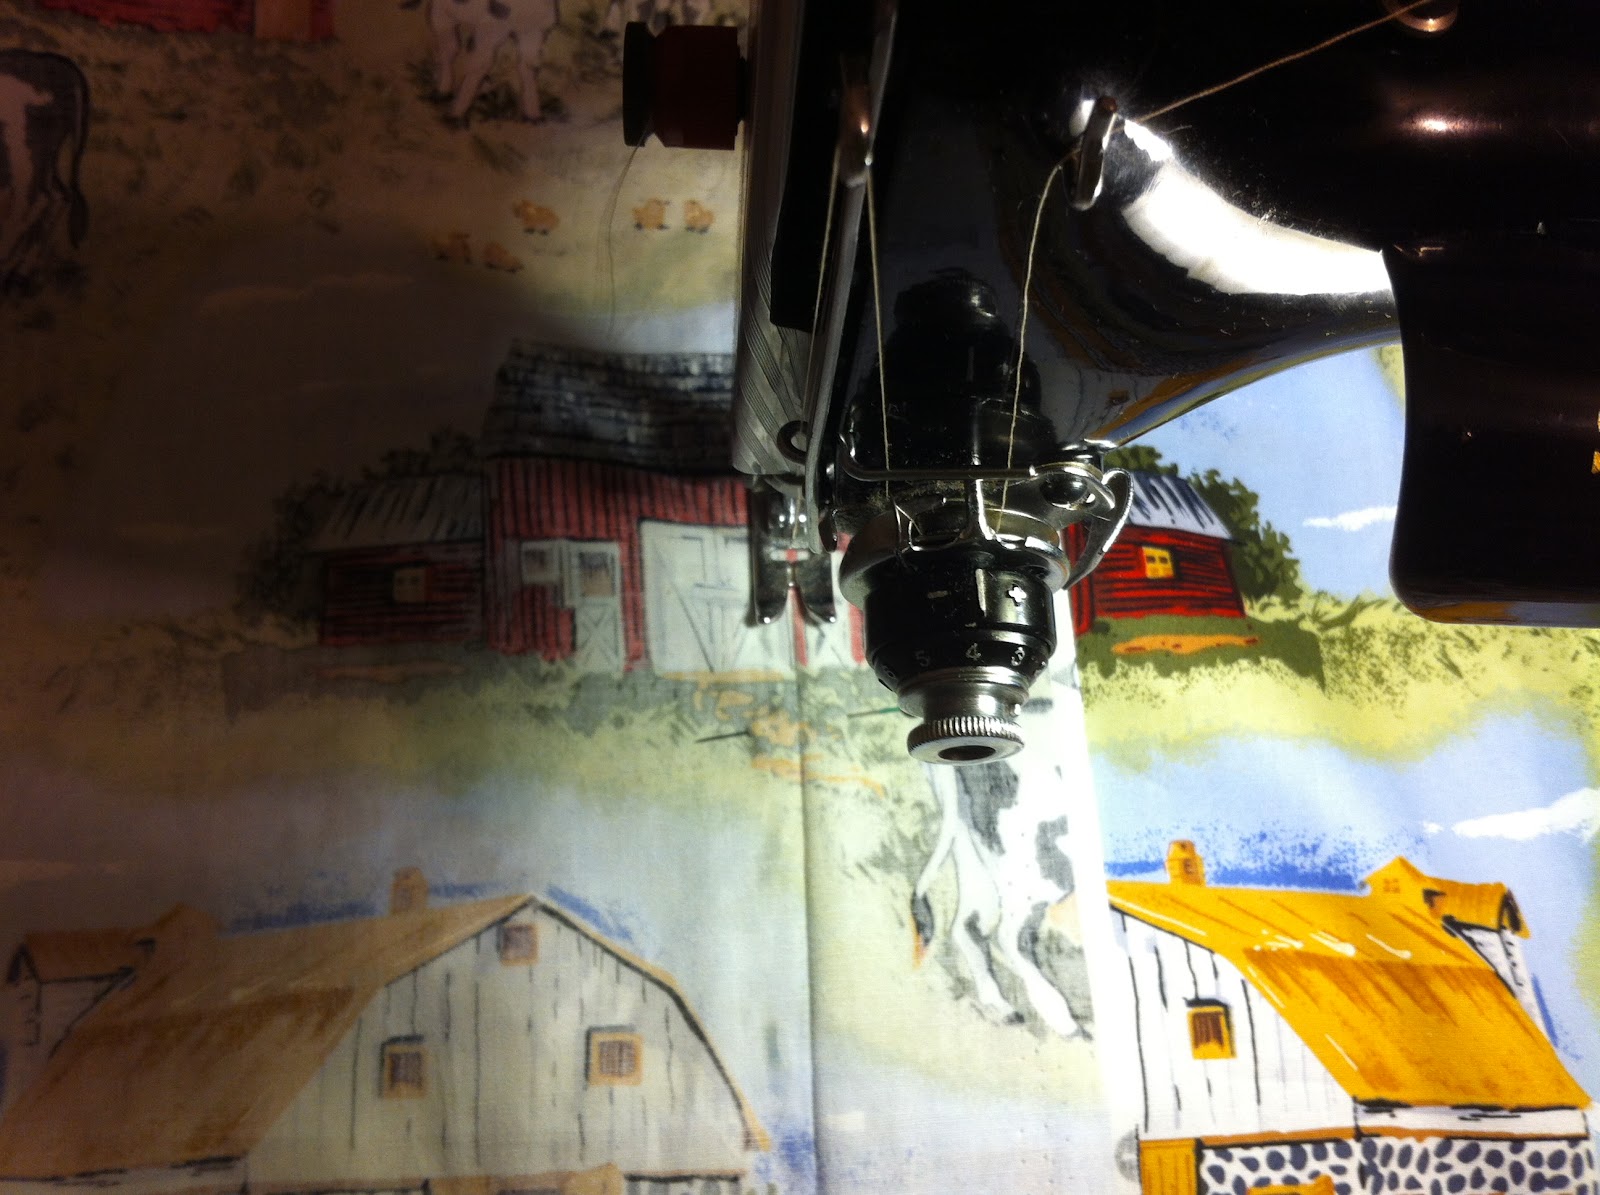 |
| Over to my Featherweight 222K to sew down the fold line |
 |
| Washed and pressed ready to layer the quilt! If you click on the photo you can just see my join (centre of photo - but actually it lands over to one side of the backing piece - I don't like joins down the middle!) |
I will be quilting this one on my Featherweight. I think it's small enough to manoeuvre through the throat space of the machine. Quilting on the Featherweight is just so enjoyable. Perfect stitches on the front and back. I'll do some Walking Foot quilting and maybe some Free Motion Quilting too!
So tomorrow I hope to start the quilting!
Happy Sewing!
Cheers from Helen


That is such a nice baby quilt and your back piecing went together perfectly.
ReplyDelete