I love to sew, mainly quilts and bags. I am 66, married to Fred and have one son, Matthew, who is 27. I enjoy embroidery and applique and prefer to machine piece and quilt my projects. I love my vintage Singer sewing machines especially my Featherweight 222K. I’m enjoying treadling on my 201K Singer and I collect Miniature Sewing Machines and currently have three Essex , one Singer 20, one Singer 40, two Vulcan Miniatures and my latest, a Grain. My love of sewing I believe comes from my Grandmother - I still have the drawings she made for me to embroider on tea towels many many years ago!
Showing posts with label Mini Farm Quilt. Show all posts

Sunday, 22 November 2015

A NURSERY RHYME QUILT

Hello!

Brisbane has suffered terribly hot weather these past couple of days so I spent most of the time in my sewing room, under the fan!

Our neighbours had a new baby boy October 1st so I'm making a little quilt for him.  I made his big brother the Farm Quilt  (click to link)  last year.  If you click on the Label below this post ..Mini Farm Quilt, you will see that quilt and other Farm quilts I have made. Click on Farm Quilt and you will see the full size quilt.

I purchased some lovely fabrics when I was away on my 60th Birthday girls weekend.  The fabrics are by Vita Mechachonis called Nursery Rhymes.

Sewing on my Featherweight 222K


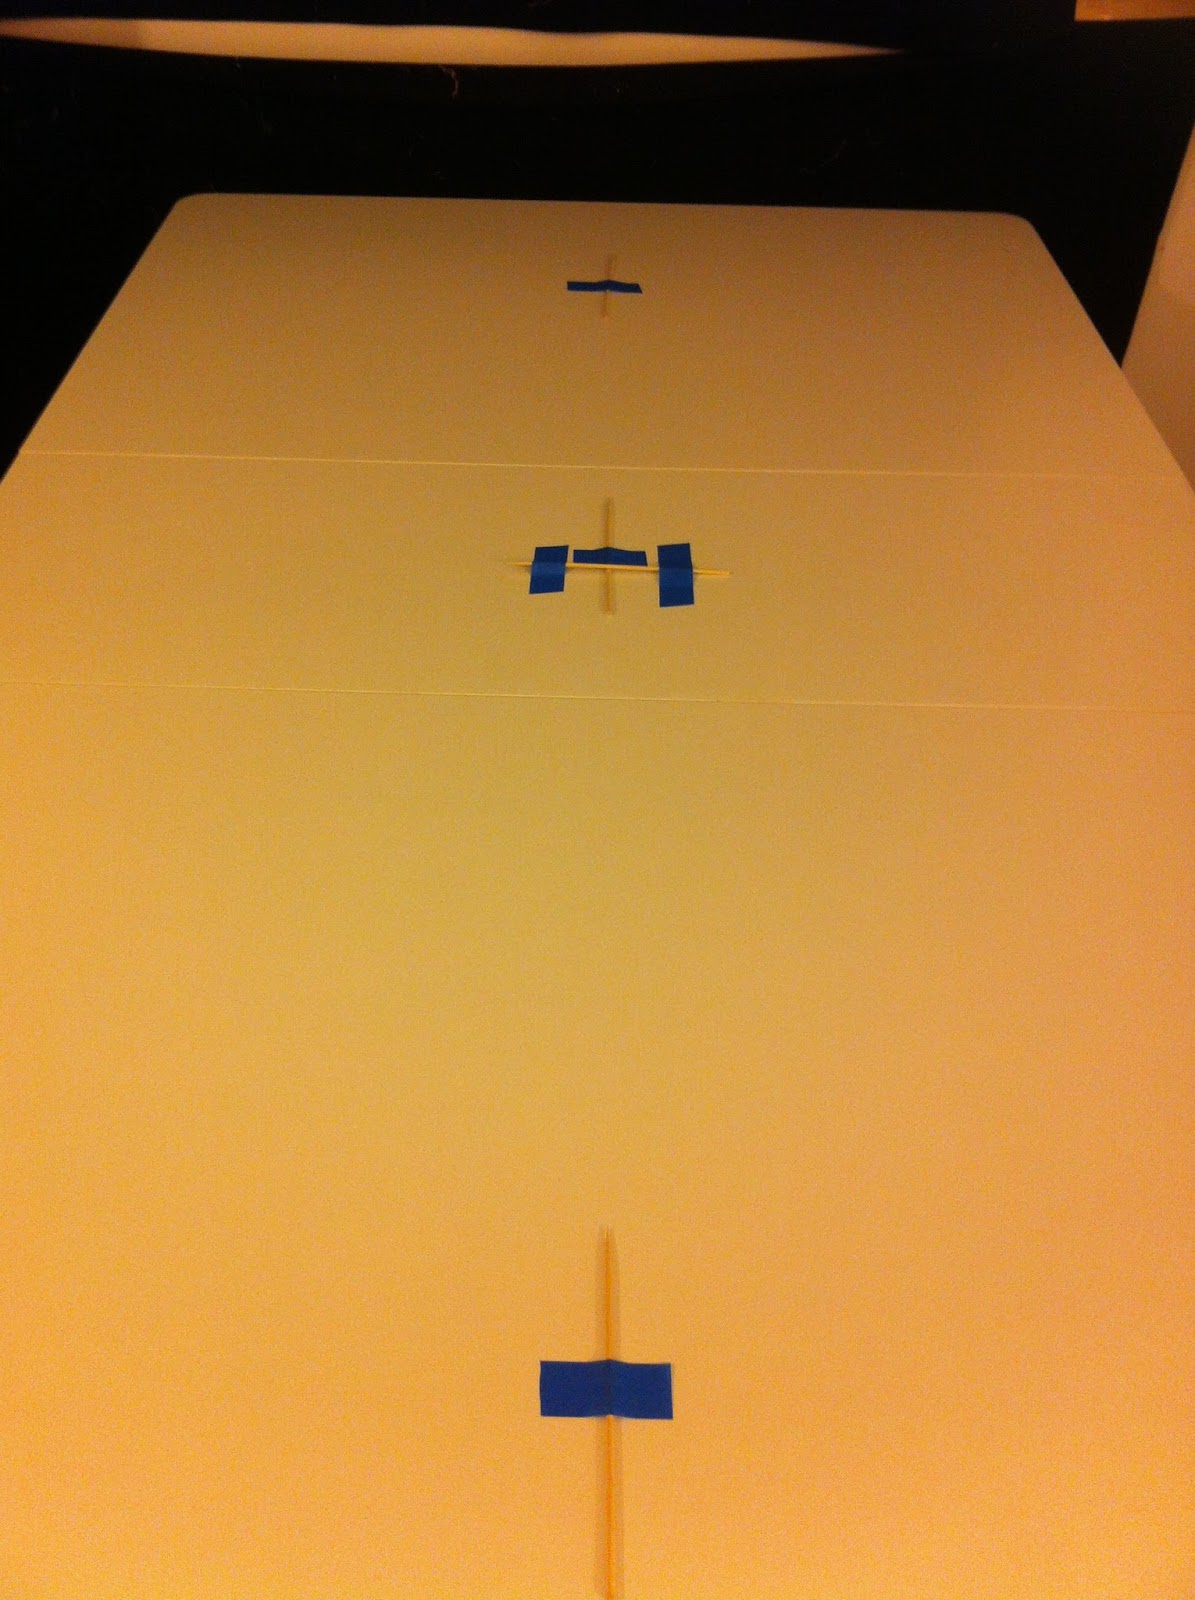
My new Horn cutting/pinning table.  This is it folded up.

This is the table fully opened on both sides and I have marked my
centre points with kitchen skewers and blue painters tape.

Here I am placing the backing on the table.  Folded the backing in half,
placed the fold on the centre markers and then fold back the
other half.  Perfectly centred quilt backing!

Bulldog clips on one end, they hold the backing down and then I smooth it out and
place the painters tape up the other end.  This quilt is only 36" square.  If this was
a longer quilt, I would be using bulldog clips top and bottom.

Relaxing the wadding.  I don't hold the wadding down
with anything.  I use 100% cotton and it lays down quite nicely.
Once it is relaxed, I smooth it out with my hands.  It doesn't
shift after that.

The Storybook Quilt!  I used the same layout as my Mini Farm Quilt.
I love the different fabrics...  What are Little Boys Made of? on the outside border and centre
block.  Hey Diddle Diddle is the dark blue border.  Humpty Dumpty makes up the four corner squares
and I used coordinating fabrics for the four patch blocks.

A new toy I purchased at the recent Craft Show.
The Sasher by Pauline Rogers
Great for pressing binding and sashing strips for QAYG

I made the binding using a new gadget I purchased at the Craft Show.  It is called The Sasher and can be used to make the folded sashing that you use for Quilt As You Go (QAYG) or binding.  It makes multiple sizes too.  I cut my binding at 4" (or wider)  for children's quilts as I use a completely machine sewn binding technique, click here to read more about that method.  So this binding ends up at 2" folded so I used the 2" sasher for make my binding.  It's very easy and you can read more about it here.

Today is much cooler so I am getting ready to pin the quilt.  I will machine quilt this one on my Brother PQ1500....  I love quilting on this machine.

Happy Sewing!!
Cheers from Helen


Thursday, 3 September 2015

SO MUCH FOR THE SPARE QUILT

We delivered the Farm Quilt today.  It was a short lived "spare" quilt!  Holly (next door neighbour's cat) seemed to be very attracted to this quilt when I was trying to hand sew the binding....  she would not get off so the hand sewing took a little longer than usual!


Holly (neighbour's cat) really loved
the farm quilt

Just as well I always wash a quilt prior to gifting!  Cold machine wash, warm tumble dry... that's it! I like to give quilts that can be used, washed, used, washed... over and over again.  I also offer repair services if needed!!

I found a great board book to go with it!

So now I don't have a "spare" quilt or a machine sewing project "on the go" but don't panic.......... don't panic...  I'll invent something :-)  I do have plenty of hand sewing to carry on with :-)

Happy Sewing!!  Cheers from Helen

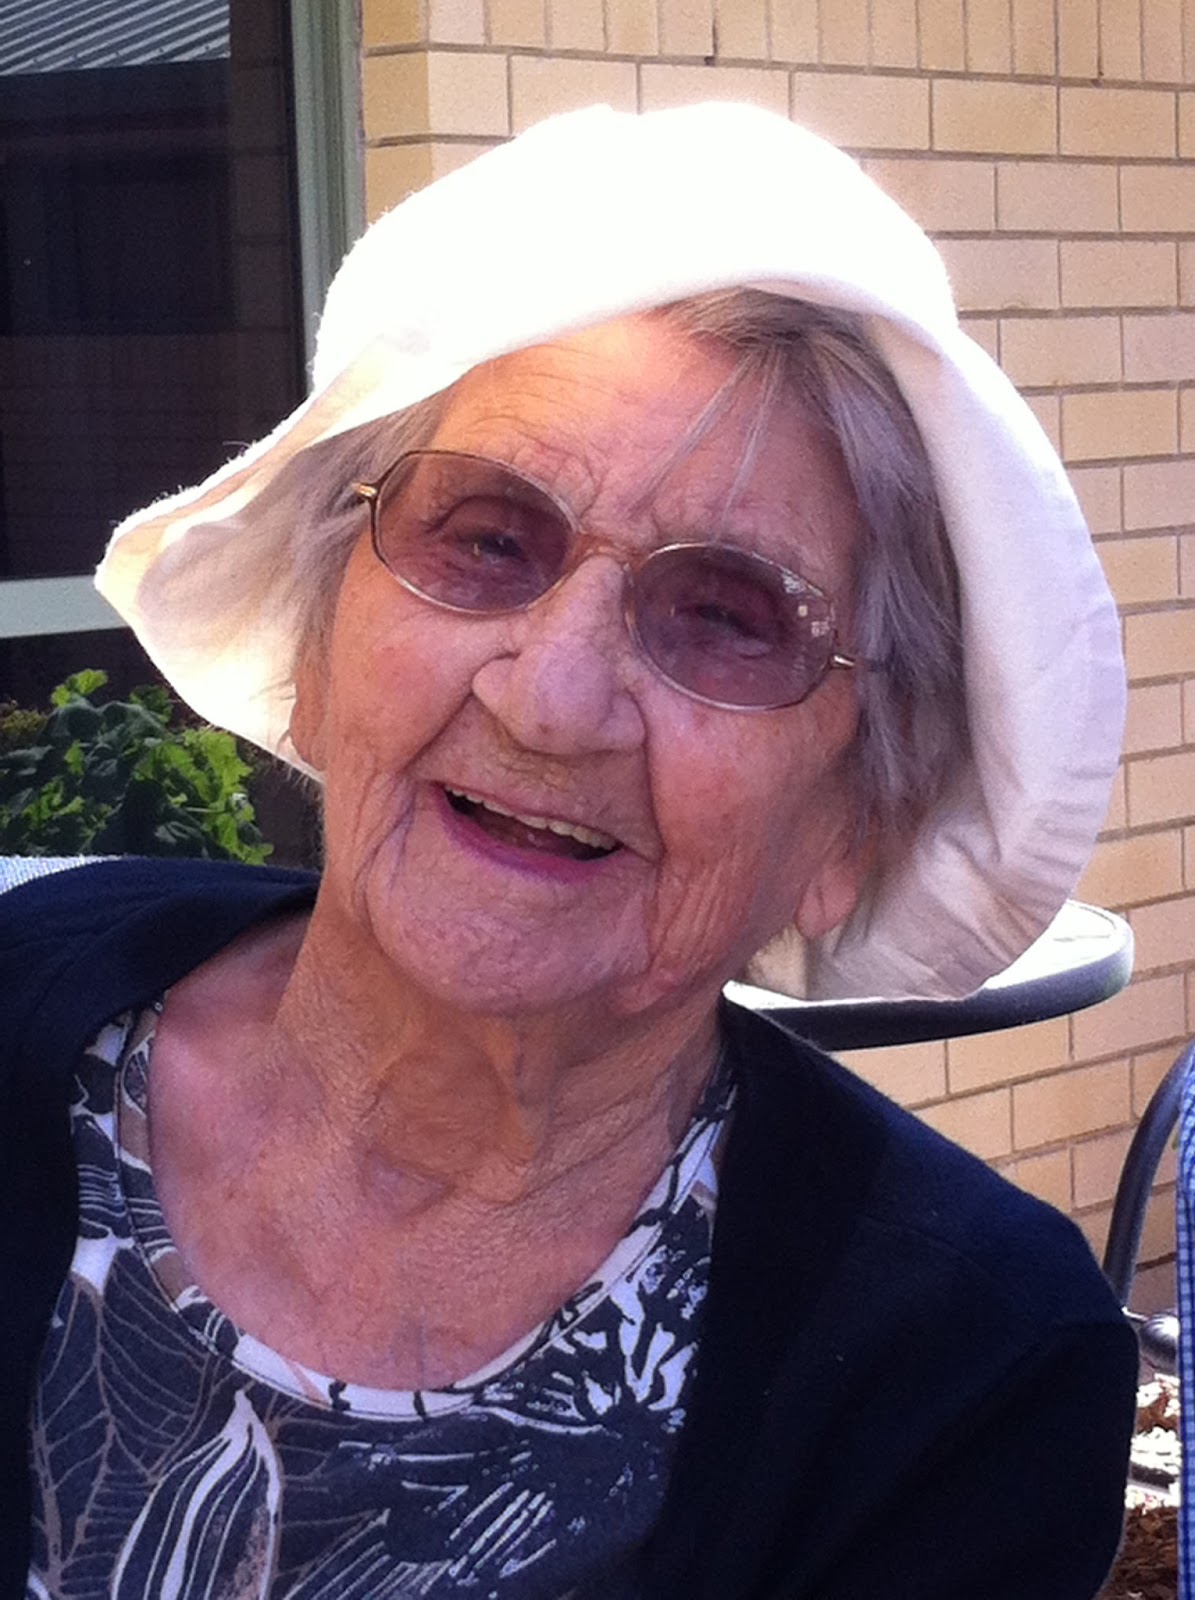
Visited Mum last weekend, she was in fine
form... so happy... not bad for 95!


Tuesday, 25 August 2015

JOINING THE QUILT BACKING............PATTERN MATCHING !

Last Saturday I put together a "spare" Farm Quilt.....  

I had some leftover embroidery blocks for a Farm quilt as I had made a mini version late last year using only 5 blocks so I decided to make another mini version to have on hand if I needed a quilt in a hurry!
Last years mini farm quilt

Cutting the borders - I like Bonnie Hunters method HERE

A flimsy!
Glad to use up some more scraps.

On Sunday we had lunch with our friends and we discovered they were grandparents again to a baby boy.......  so suddenly the "spare" farm quilt is not a spare anymore!    Today I found some backing fabric for it but it was only 40" wide and my quilt flimsy is 38" square.  I like at least 4" excess batting and backing all the way around a quilt so I decided to piece the backing with just one seam down one side.

This farm fabric is perfect!  I have always wanted to have a go at joining a backing using the method where you pattern match.......   you can read about this method HERE.


I found this fabric to use for the backing of the Farm Quilt

Measuring the pattern repeat
Cut your two pieces of fabric - one piece longer
than the other by the pattern repeat measurement

Folding and pressing along the selvedge edge of the short piece

Always make a note of the measurements!
My short piece of backing fabric =  46"
My long piece measured 46" + pattern repeat of 12" = 58"
Get your Elmer's Washable School Glue out!!
You overlay your short piece with the folded edge over the long piece, right
sides facing and obviously laying the top piece with
the pattern matching on the bottom piece.

I glued all the way down the seam (just glue under the fold line) and then put a few
pins in until I pressed with my iron to set the glue. 
Make sure the widest pieces of fabric are together (top of photo) and your selvedge edges
are together (bottom of photo) -  the seam allowance
gets trimmed off after sewing.

Heres a better view of how you add the two pieces with
the pattern matching.  You can see there is a bit of wastage
on the bottom fabric to allow for the matching
of the pattern.

Over to my Featherweight 222K to sew down the fold line

Washed and pressed ready to layer the quilt!
If you click on the photo you can just see my join
(centre of photo - but actually it lands over to one side
of the backing piece - I don't like joins
down the middle!)

I will be quilting this one on my Featherweight.  I think it's small enough to manoeuvre through the throat space of the machine.  Quilting on the Featherweight is just so enjoyable.  Perfect stitches on the front and back.  I'll do some Walking Foot quilting and maybe some Free Motion Quilting too!

So tomorrow I hope to start the quilting!  

Happy Sewing!
Cheers from Helen

Tuesday, 4 November 2014

E-I-E-I-O


Farmyard Friends

the new and improved label

of course I added a book!

The Farm Quilt has been delivered!  I’m so happy to finally have the quilt finished and delivered… now on to some Christmas sewing :-)      

Cheers from Helen

Thursday, 30 October 2014

MACHINE BINDING


The Farm Quilt is all ready for its label and some finishing hand stitching.....  here are the binding steps for using a wide binding.........

sew the binding to the front of the quilt - I'm using the walking foot as the seam width which
is about a 1/4" 

I like to use the markings on the needle plate when attaching binding - as my walking foot gives me a 1/4" seam, I use that line marked on the plate to know where to stop and backstitch before turning the corner.  You can just see the quilt top corner peeking out, when that gets up to that line I stop and backstitch and then turn and stitch off the quilt.....  if you were using a wider seam width, you would just put a piece of painters tape or similar to mark your stopping point.  I find this the most accurate method for knowing where to stop and backstitch.

stop with needle down when the corner of the quilt top reaches that 1/4 line (to match the
seam width) 
  
backstitch first and then stitch off to the edge
fold back as per usual and continue stitching all the way around the quilt

I cut the binding at 4", this allows for a larger width binding on the back of the quilt (I'm using double fold binding not single fold) -once I've stitched all the way around the quilt,  to finish off the binding I use a scrap of the binding to measure the overlap for joining the two ends together.......

Use a scrap of the binding to measure the overlap

join on the diagonal

Once the binding is stitched to the quilt front, I then take everything over to the ironing board......  I press the binding away from the quilt top.....


Back on the ironing board, press the binding back away from the quilt top.


Turn the binding over to the back of the quilt - I like to use
the Jumbo Wonder Clips to hold everything in place - see the
nice mitre in the corner!  if you have trimmed your quilt top
to a perfect 90 degrees and attached the binding as above, this mitre
just forms itself!

stitching down the back of the binding - yes on my machine! this
quilt is for a little baby so I want the binding to be hard wearing for all those
washes it will get!  I use my walking foot and a longer stitch
length.  Yes, the stitches will show on the front of the quilt - they form
another row of quilting in your last border ... this method works for
plain borders but probably wouldn't suit a pieced or applique border.

I will take some photos of the finished binding today, I'm up to attaching the quilt label and hand stitching those mitres down.

Happy Sewing!
Cheers from Helen
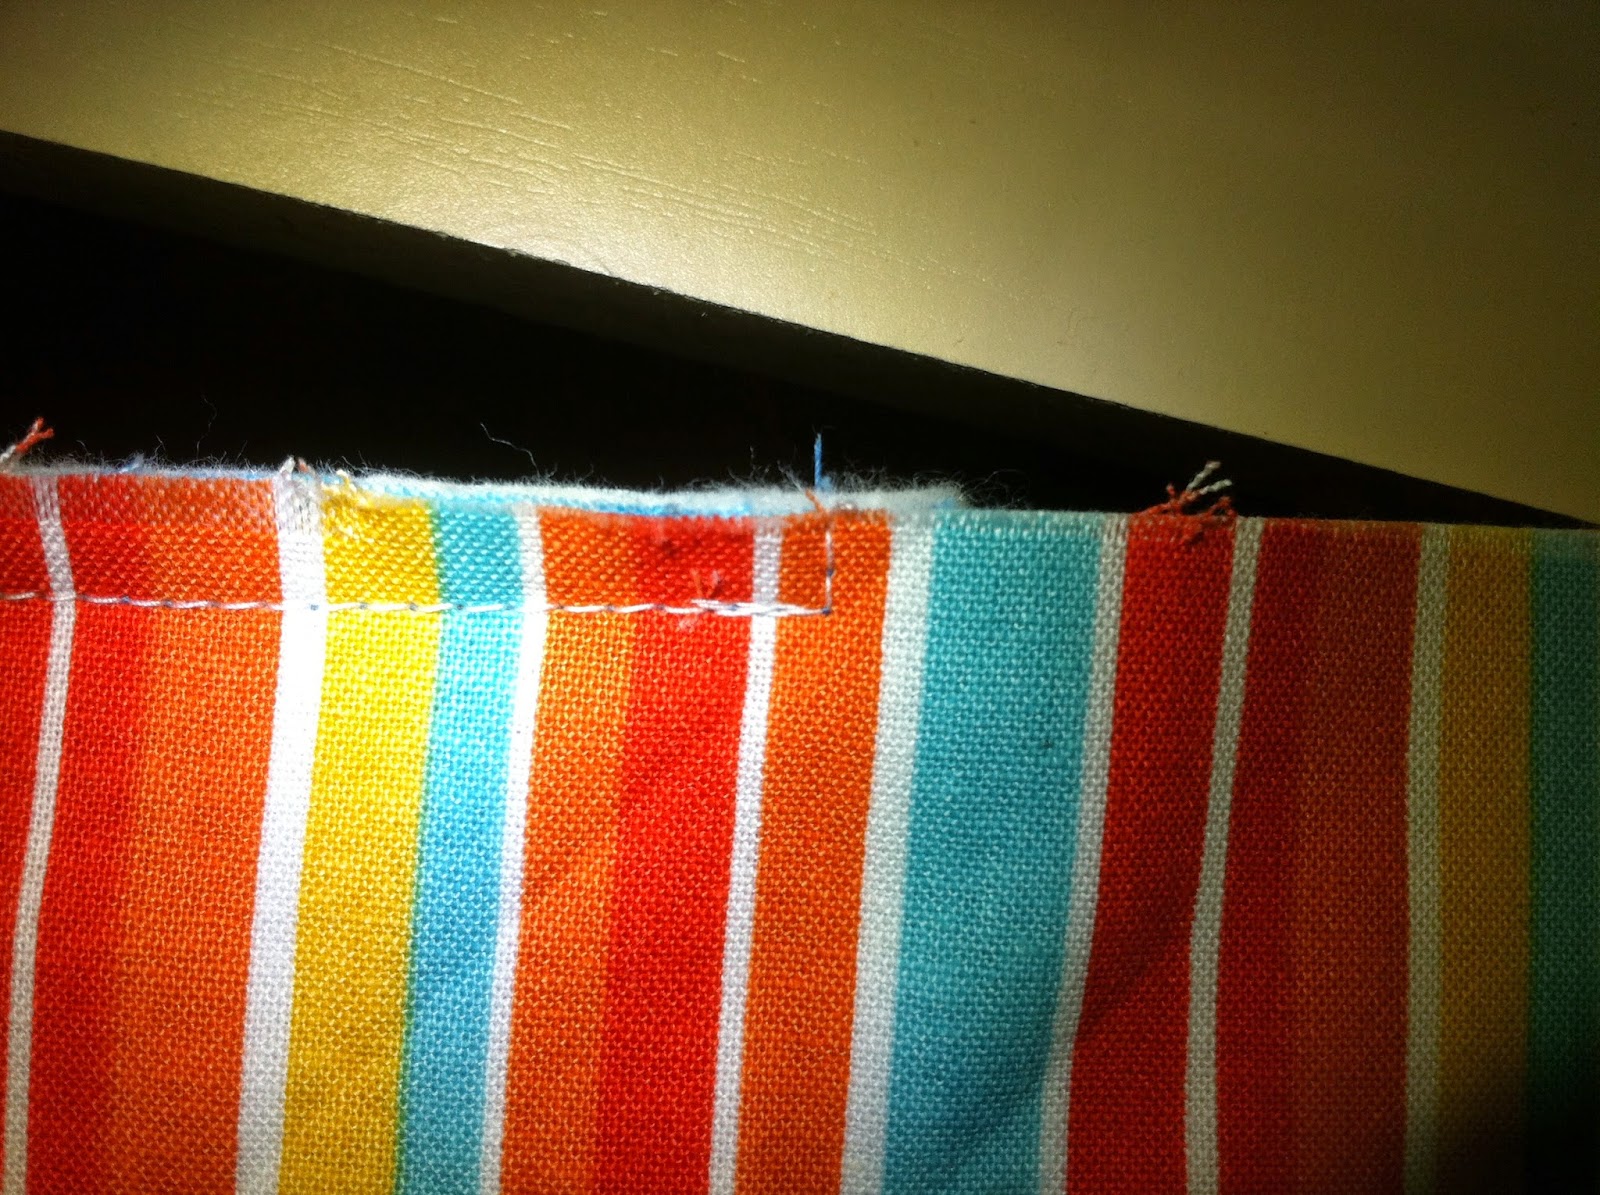
Tuesday, 28 October 2014

MINI FARM QUILT

Today we are experiencing extremely hot weather..... AGAIN!  although there is at least a slight breeze today.  I'm staying in my sewing room, fan on, and I am adding the borders to the mini farm quilt.... think I will call this one "Hobby Farm"...

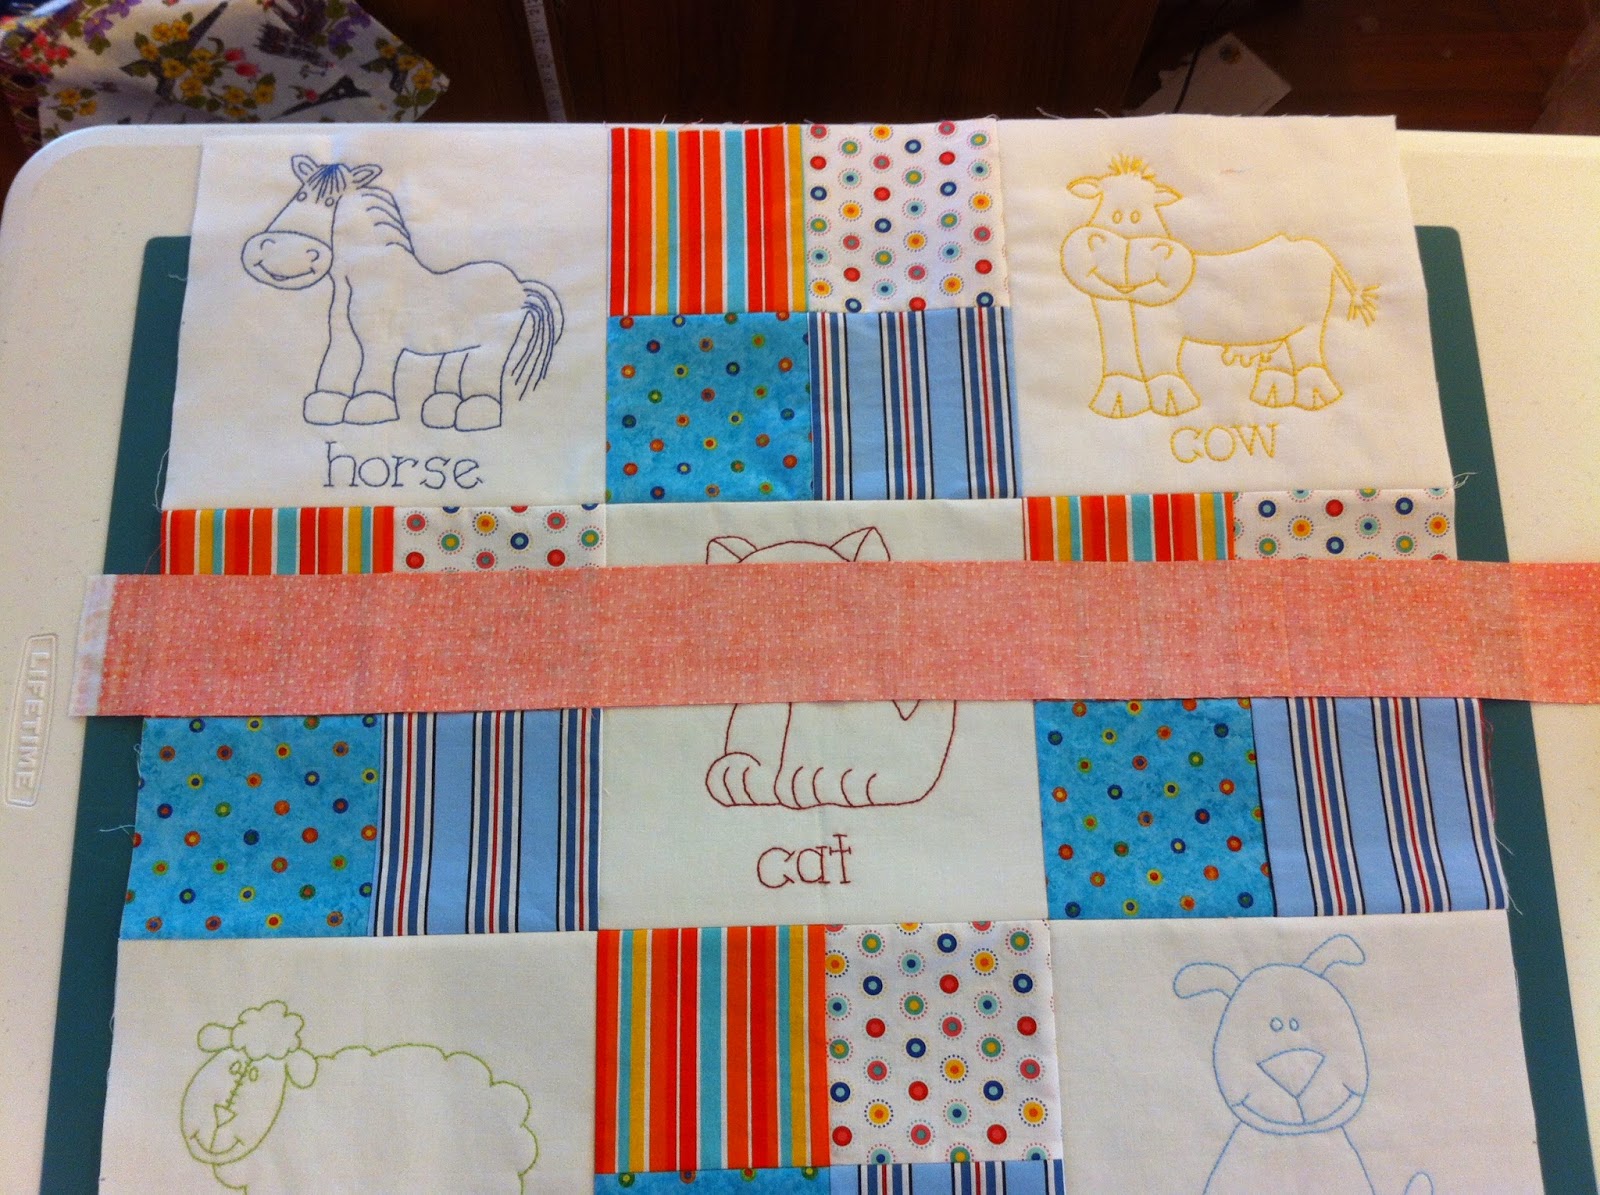
This is how I measure for borders....  I cut my strip, lay it down the centre
of the quilt top, pat it down without stretching, then cut off each end square with
the quilt sides.  

cutting off the end

and the other end

Pinning the strip to the side of the quilt - I'm pinning left to right as I am
sewing this project on my Featherweight and using the seam guide.  Lots
of pins! 

Here we are at the machine

As I have Pellon on the back of the embroidered blocks, I have reduced
the foot pressure on my machine, this helps with any "creeping" of
the border fabric.
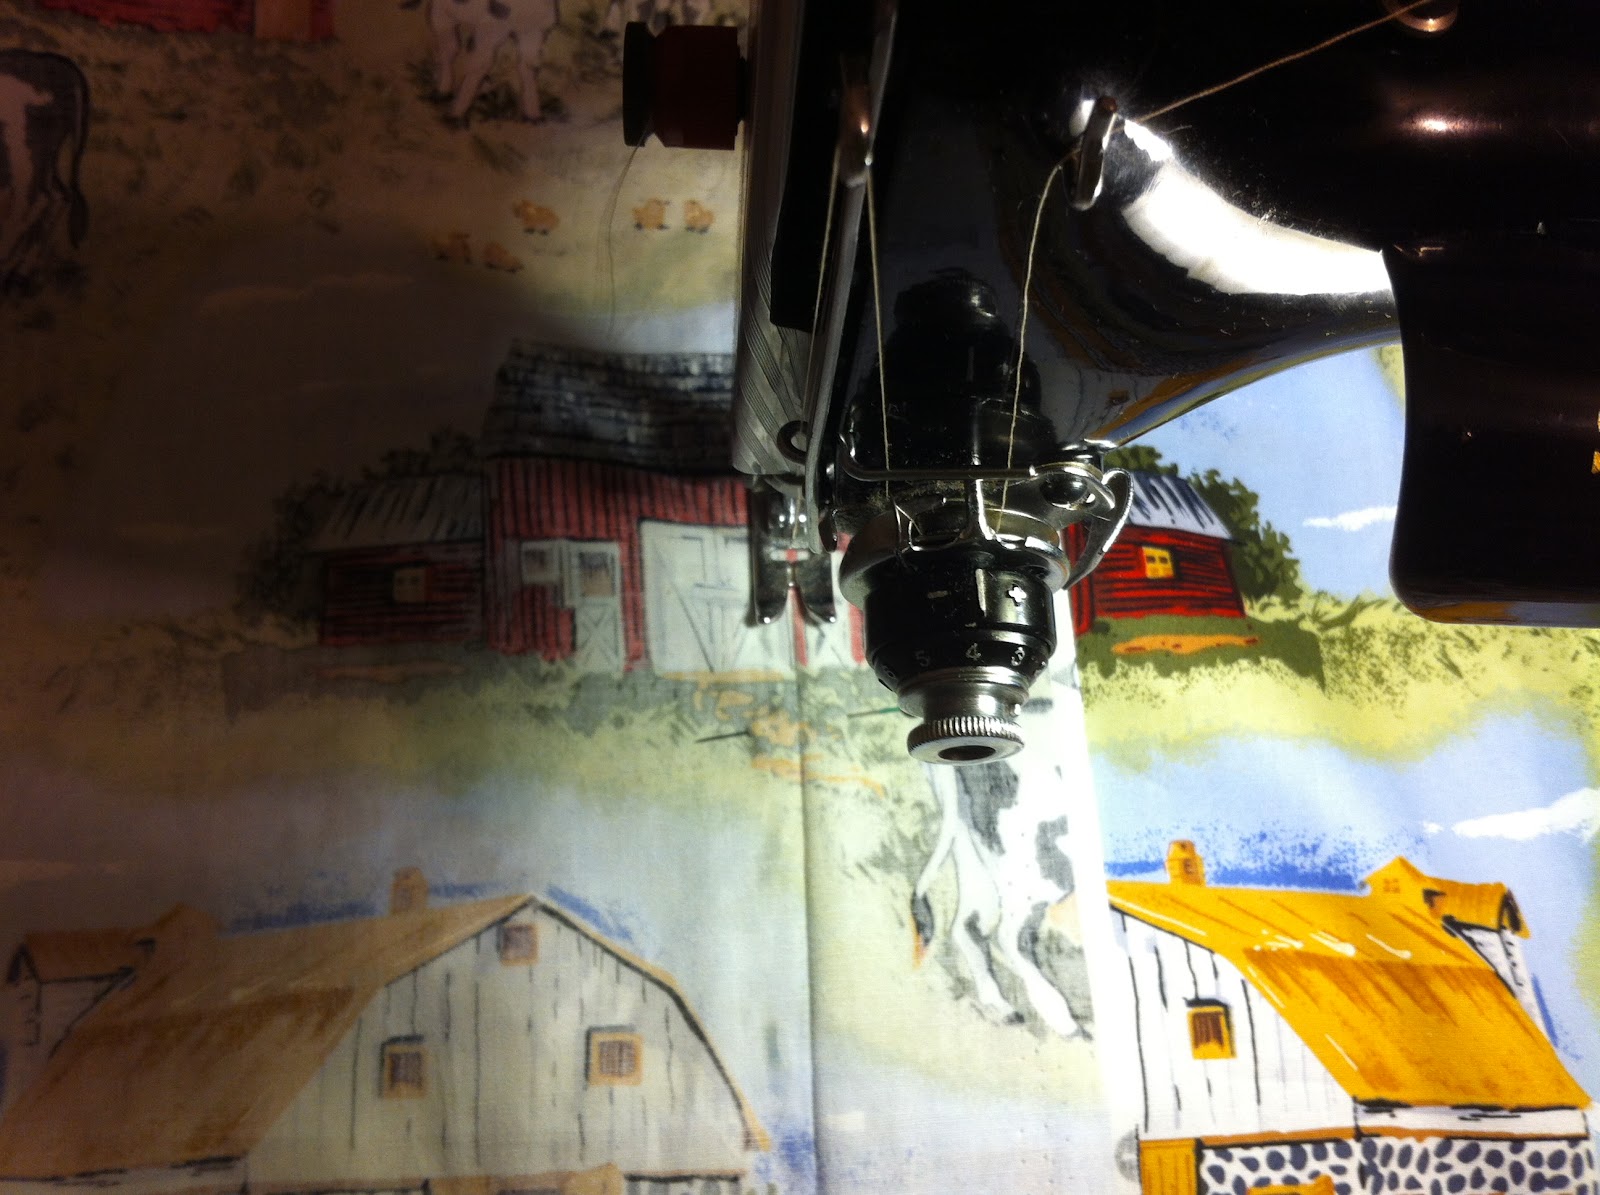
Sorry for blurry pic (using my phone!) but for the ladies who
sew on a FW, this is what I mean by reducing the foot pressure.
There are around 5 or 6 threads of the screw showing whereas during
normal sewing on my machine there are usually only 2 or 3 threads
showing.   
Here I am adding the last borders

Now on to the next and final border!

It is now 6:30pm and I've sat on this Post all day!!!  I am now up to the quilting which I'm doing on my Brother PQ1500 machine as I had it all set up ready!  I will post a photo later of the quilting.

Happy Sewing,
Cheers from Helen!